Why Water Softener Installation Could Transform Your Home
Water softener installation is a proven solution to eliminate the frustrating effects of hard water that plague many Texas homes. If you’re tired of soap scum buildup, spotted dishes, and appliances that fail prematurely, installing a water softener can solve these problems permanently.
Here’s what you need to know about water softener installation:
- DIY Time Required: 4-6 hours for experienced homeowners
- Professional Installation: 1-3 hours with guaranteed results
- Best Location: Near main water line, before water heater
- Essential Requirements: Access to drain, electrical outlet, and bypass valve
- When to Install: Water hardness above 7 grains per gallon
- Key Tools Needed: Pipe cutters, wrenches, Teflon tape, fittings
Hard water affects over 85% of American homes, causing mineral buildup that clogs pipes, damages appliances, and makes cleaning a constant battle. The calcium and magnesium in hard water leave white spots on dishes, create soap scum in showers, and can reduce your water heater’s efficiency by up to 25%.
Installing a water softener eliminates these minerals through an ion exchange process, replacing them with sodium ions that won’t cause buildup. The result? Cleaner dishes, softer skin and hair, brighter laundry, and appliances that last years longer.
Whether you choose DIY installation or professional service, understanding the process helps you make the right decision for your home and budget.
Preparing for Your Water Softener Installation
Getting ready for water softener installation is like preparing for any home improvement project – the more you plan ahead, the smoother everything goes. Let’s walk through what you need to know before you even touch a wrench.
First things first: you need to know exactly how hard your water is. This isn’t just curiosity – it’s the foundation for choosing the right system size. Water hardness is measured in grains per gallon (GPG), and if your water tests above 7 GPG, a water softener will make a real difference in your daily life.
Once you know your water’s hardness level, sizing your system becomes straightforward. Think about your household water usage – a family of four uses different amounts than a couple or a house full of teenagers who take long showers. Generally, smaller households need systems with at least 30,000 grain capacity, while larger families might need 40,000 grains or more.
Choosing the right location is crucial for successful water softener installation. You’ll want to find a spot that checks several boxes: close to your main water line (ideally before your water heater), accessible for maintenance, and near both a drain and an electrical outlet.
Popular locations include your basement, garage, or utility closet. The key is making sure you can easily add salt, check on the system, and that it has room to do its job without being cramped. This system will need to flush out minerals periodically, so proximity to a drain isn’t optional – it’s essential.
Essential Tools and Materials for Water Softener Installation
Having the right tools ready before you start makes water softener installation so much easier. Nothing’s worse than being halfway through a project and realizing you’re missing something important.
You’ll need pipe cutters to make clean cuts in your main water line, plus wrenches and pliers for tightening connections. Don’t forget screwdrivers for various adjustments and plenty of Teflon tape – this little roll of magic prevents leaks at threaded connections.
Flexible connector hoses often work better than rigid piping because they make future maintenance easier. Your system will need a bypass valve (some units include one, others don’t), which lets you isolate the softener when needed without shutting off water to your whole house.
Depending on your existing plumbing, you’ll need the right fittings and adapters. If you have copper pipes and plan to solder, you’ll need a propane torch and solder – just be careful not to apply heat near any plastic components that could melt.
How Do I Know If I Need a Water Softener?
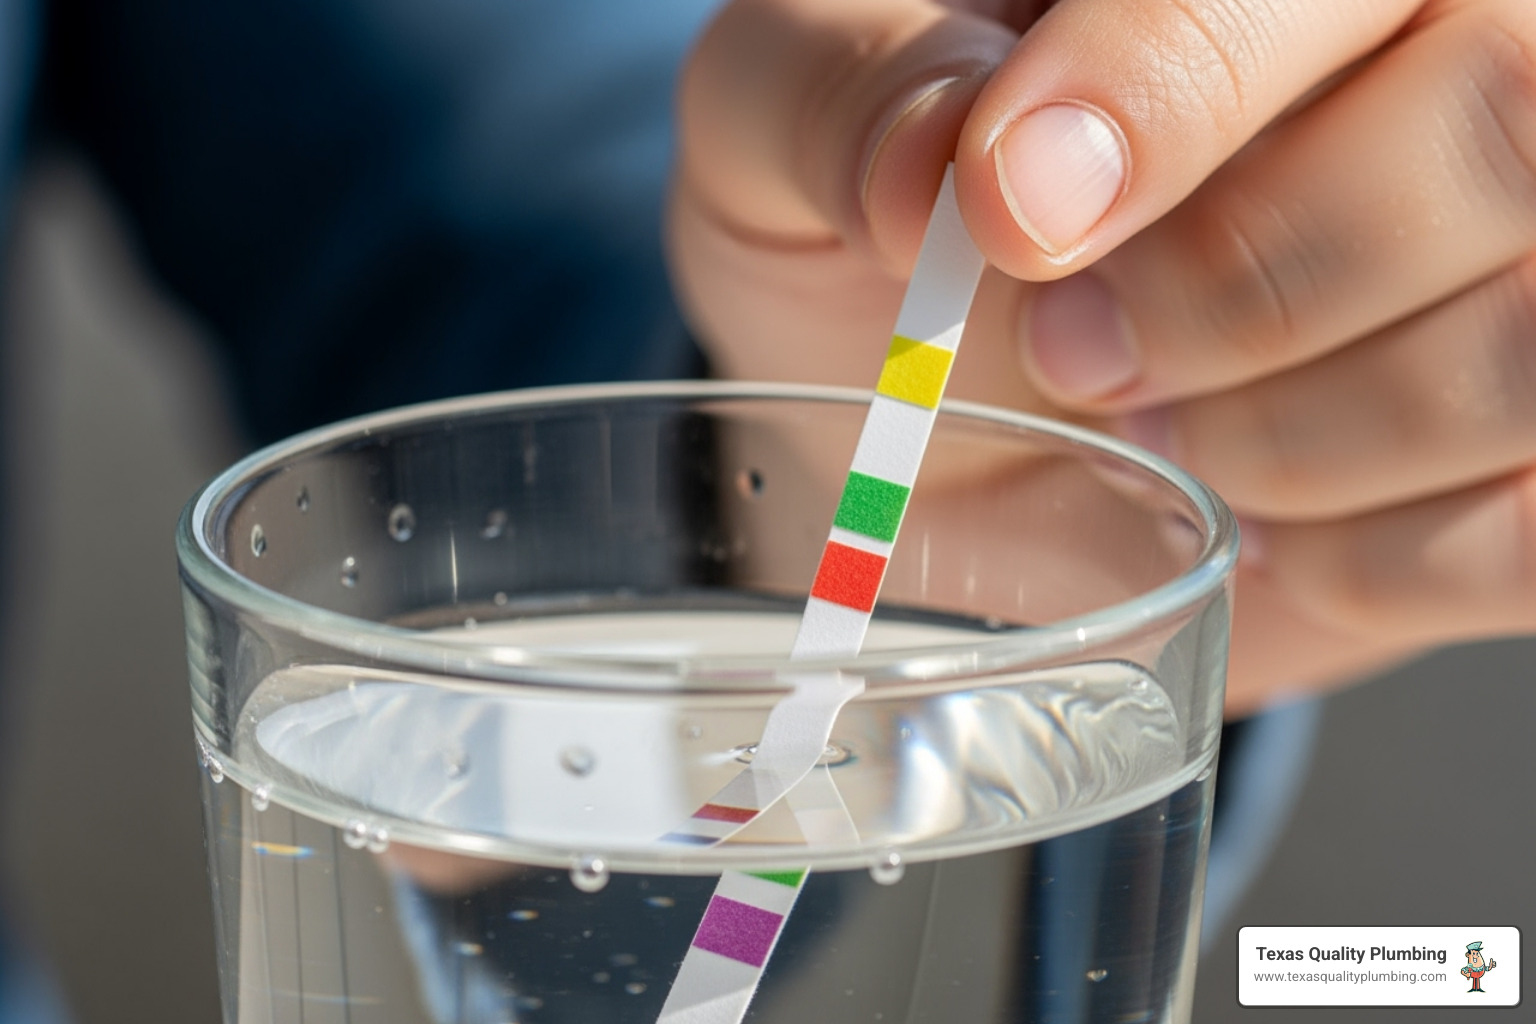
This is probably the most common question we hear, and it’s a smart one to ask before diving into installation. The most reliable way to know is testing your water hardness levels with a simple water hardness test kit.
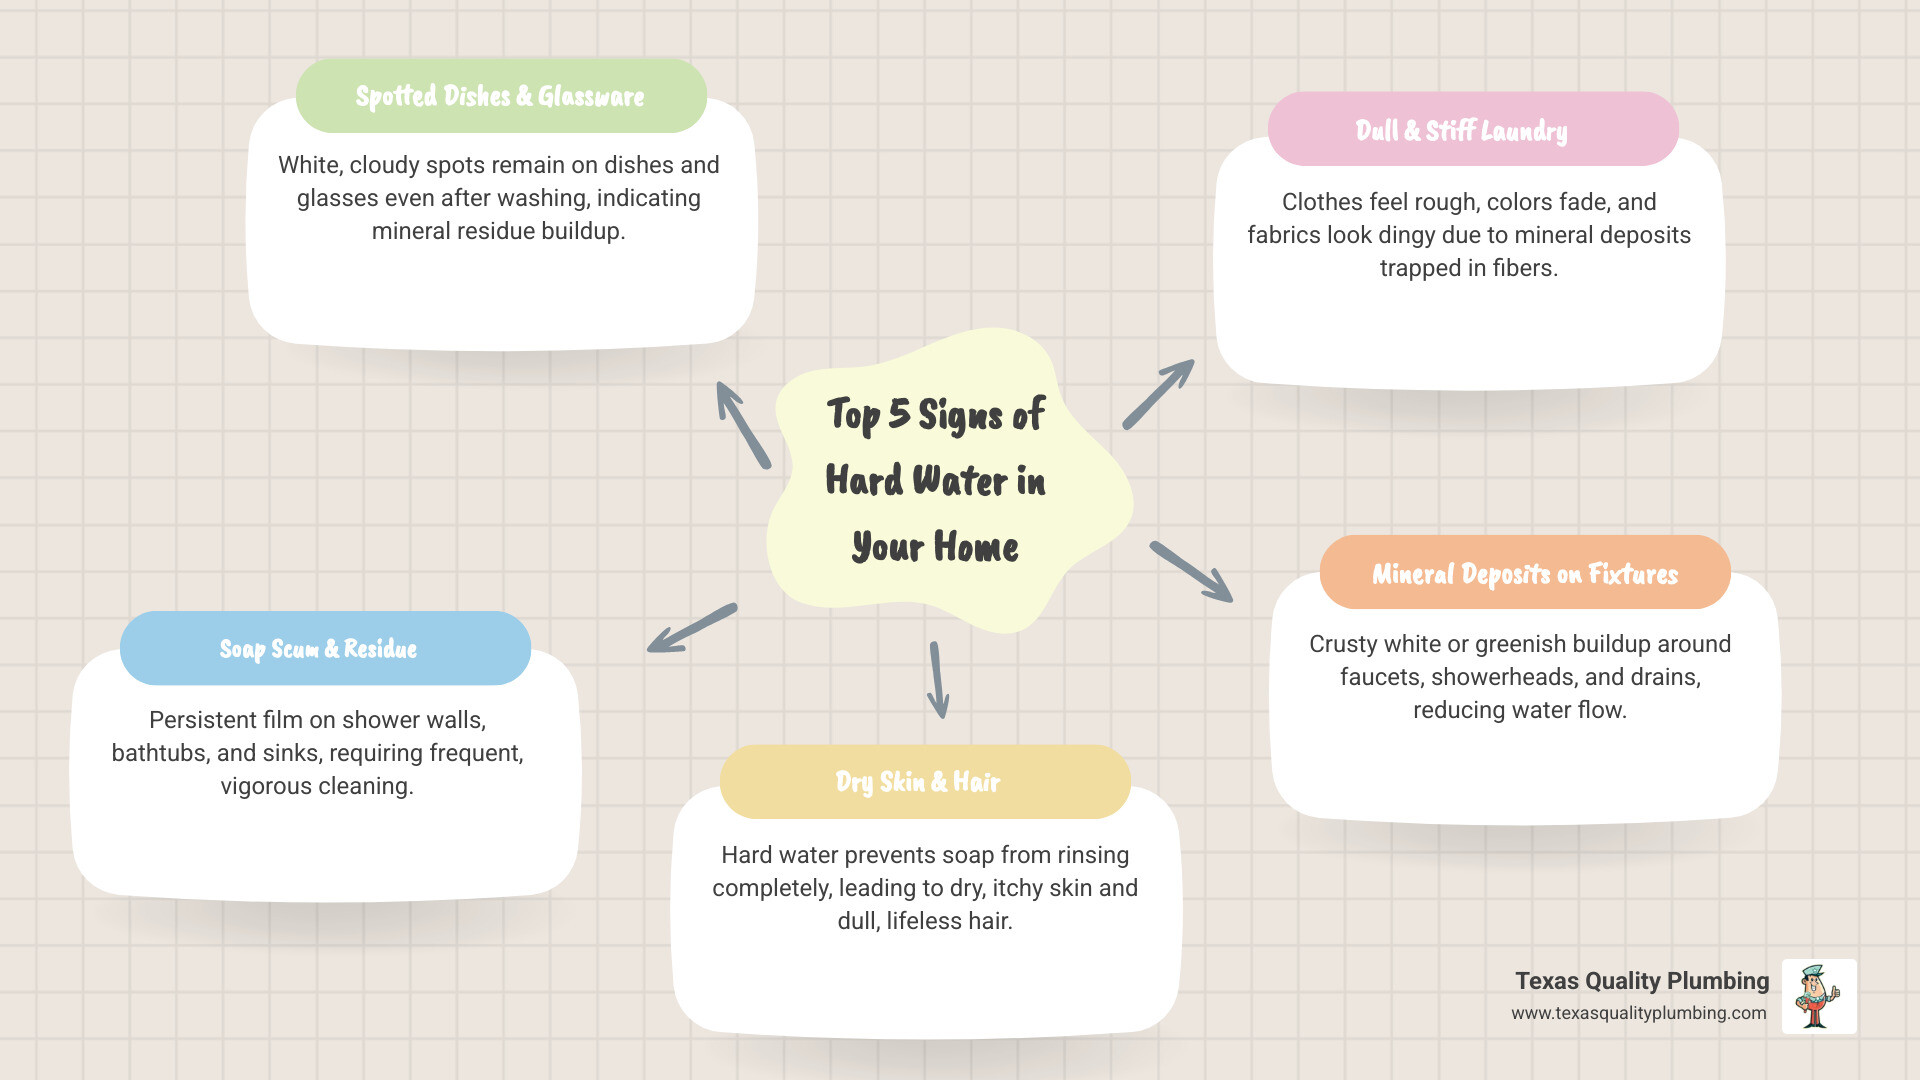
But honestly, your home probably already gives you plenty of clues. Dry skin after showers, stiff laundry that feels rough even after washing, and white mineral buildup on fixtures are classic signs of hard water. You might notice your soap doesn’t lather well, or your dishes come out of the dishwasher with spots and streaks.
These aren’t just minor annoyances – they’re signs that hard water is working against you every day. It’s making your appliances work harder, your cleaning products less effective, and frankly, making your daily routines more frustrating than they need to be.
If you’re seeing these signs and want to understand more about what’s happening with your water, check out our guide on Understanding Water Quality Issues for deeper insights into how water quality affects your home.
Your Step-by-Step Guide to Water Softener Installation
Now for the main event! While the idea of water softener installation might seem daunting, we’re here to guide you through it step-by-step. With a little DIY savvy and our expert advice, you can tackle this project. For our visual learners, many manufacturers offer video demonstrations to complement these instructions.
1. Shut Off Water and Prepare Plumbing
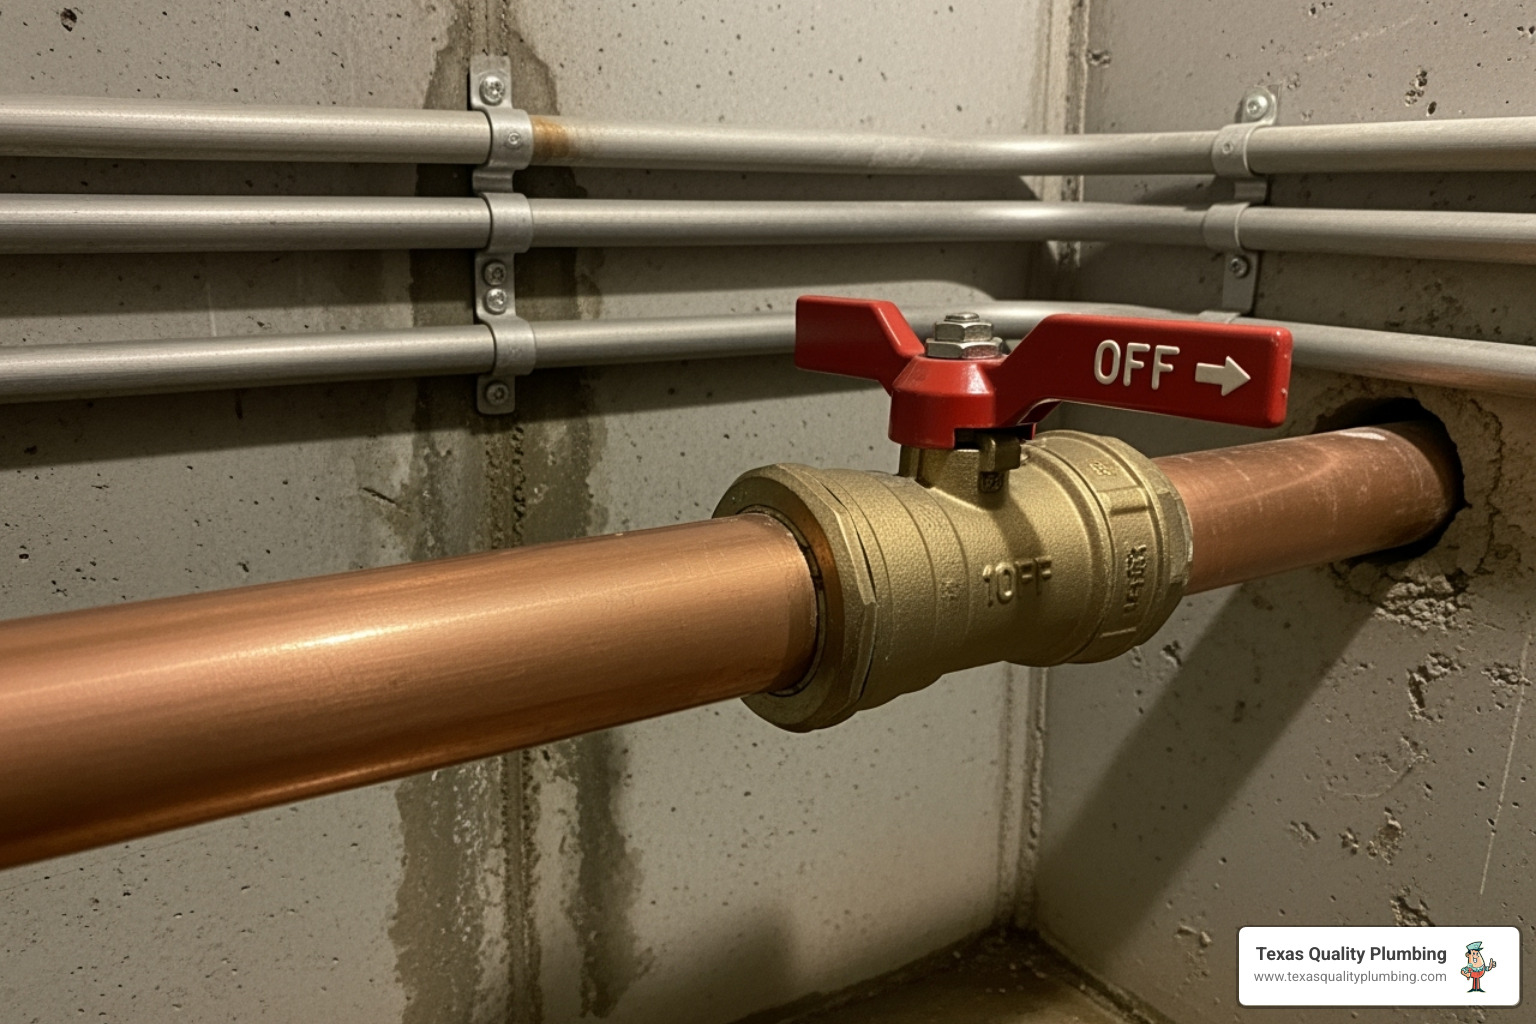
Safety first, always! Before cutting any pipes, you must shut off the main water supply to your home. This valve is usually located where the main water line enters your house, often in the basement, utility room, or outside. Once the main supply is off, open a few faucets (both hot and cold) at the highest and lowest points in your home to drain the pipes and relieve any remaining water pressure. This prevents a surprise shower when you cut into the line!
Now, you’re ready to prepare the plumbing. This involves identifying the section of your main water line where the softener will be installed. You’ll need to cut into this pipe to make space for the unit. Measure carefully, ensuring enough room for the softener and its connections. If you’re replacing an old softener, this step might be simpler, but for a new installation, precise measurements are key.
2. Assemble and Position the Unit
Most water softeners come with a bypass valve that needs to be attached to the main unit. This valve is a lifesaver, allowing you to bypass the softener for maintenance or if you temporarily need hard water for outdoor use. Assemble the bypass valve according to the manufacturer’s instructions, ensuring a snug fit with any included O-rings or clips. Pay close attention to the “in” and “out” markings on the bypass valve to ensure correct water flow.
Once the bypass valve is attached, carefully position the mineral tank (the taller tank) in your chosen location. Make sure it’s on a level, stable surface. Some units require you to fill the resin tank with resin at this stage, so follow your specific model’s instructions carefully.
Now, connect the water softener’s inlet and outlet ports to the bypass valve. If you’re using flexible connector hoses, ensure they are routed as straight as possible to avoid kinks that could affect water pressure or damage the unit. If hard-piping, cut and fit the pipes precisely.
3. Connect the Drain and Overflow Lines
This is where the magic happens (and the minerals get flushed away!). Your water softener will have a drain line connection, usually on the control valve, and often an overflow tube connection on the brine tank (the shorter, wider tank where you add salt).
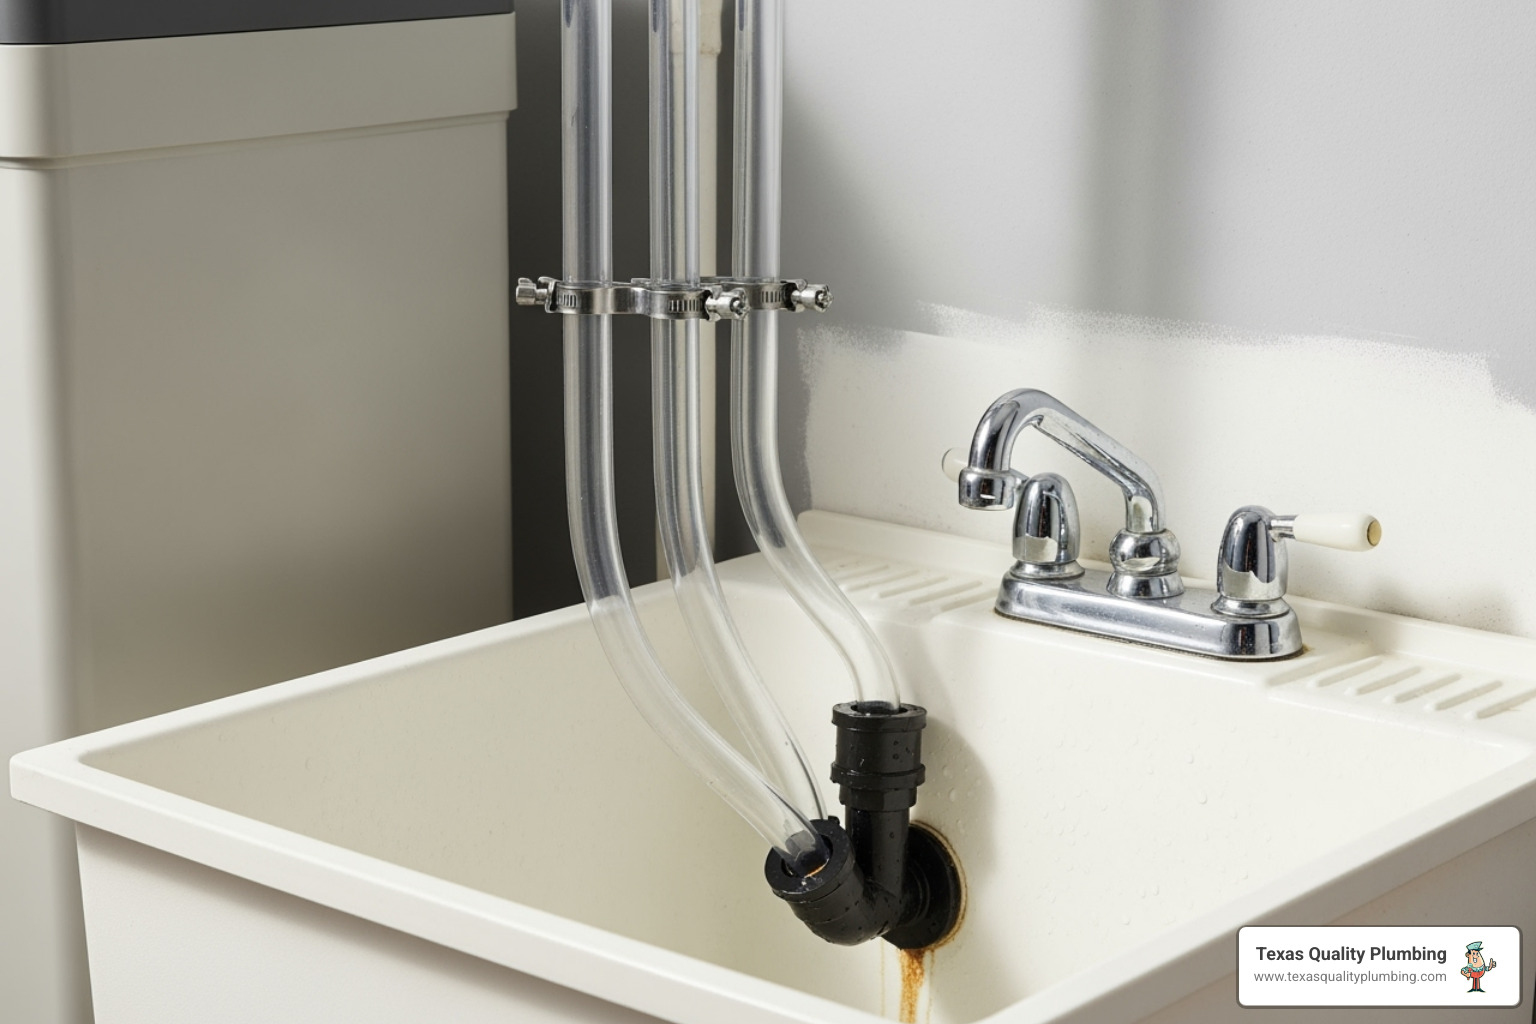
Connect the drain tubing to the softener’s drain saddle. This tubing will carry the brine solution (water and dissolved minerals) away during the regeneration cycle. Route this tubing to a suitable drain – a floor drain, utility sink, or standpipe are common. It’s crucial to ensure there’s an air gap fitting between the drain tube and the drain itself. This prevents dirty drain water from being siphoned back into your clean water supply, and in some areas, it’s required by local plumbing codes. The drain line should also be sloped downwards for proper gravity flow and not liftd more than 8 feet above the softener.
Do the same for the overflow line from the brine tank, ensuring it’s angled down since it relies on gravity to carry away any excess water. Secure all drain connections with hose clamps to prevent leaks.
4. Final Connections and System Startup
With the drain lines in place, it’s time to connect the brine tank to the main softener unit. This is usually done with a smaller brine line. Follow your manufacturer’s specific instructions for this connection.
Now, for the salt! Your brine tank needs salt (or potassium chloride) for the regeneration process. Fill the brine tank with salt, but be careful not to overfill it. Many tanks have an indicated line, or you can fill it about halfway. Some sources suggest adding about 3 gallons of clean water to the salt tank before filling it with salt, especially during the initial setup.
Finally, connect the power adapter to the control valve and plug it into a nearby grounded electrical outlet. Ensure this outlet is continuously live and not controlled by a switch. If your house has copper or steel plumbing that is part of your electrical ground system, installing a water softener may break that connection. You’ll need to follow local codes to install a jumper wire to maintain the ground connection. PVC or CPVC piping does not require this concern.
With everything connected, it’s time for the moment of truth: slowly turn on the main water supply to your home. Listen for rushing water and then gradually open the bypass valve to allow water to flow into the softener. Once water is flowing, check all connections carefully for any leaks. Turn on a cold water faucet nearby to purge air from the lines until the water runs smoothly. If you encounter any issues, our team is always ready to provide a Hard Water Issues Solution and assist with troubleshooting.
Post-Installation: Programming and Maintenance
Congratulations! You’ve tackled the physical water softener installation. Now comes the fun part – getting your system dialed in perfectly and keeping it running like a dream.
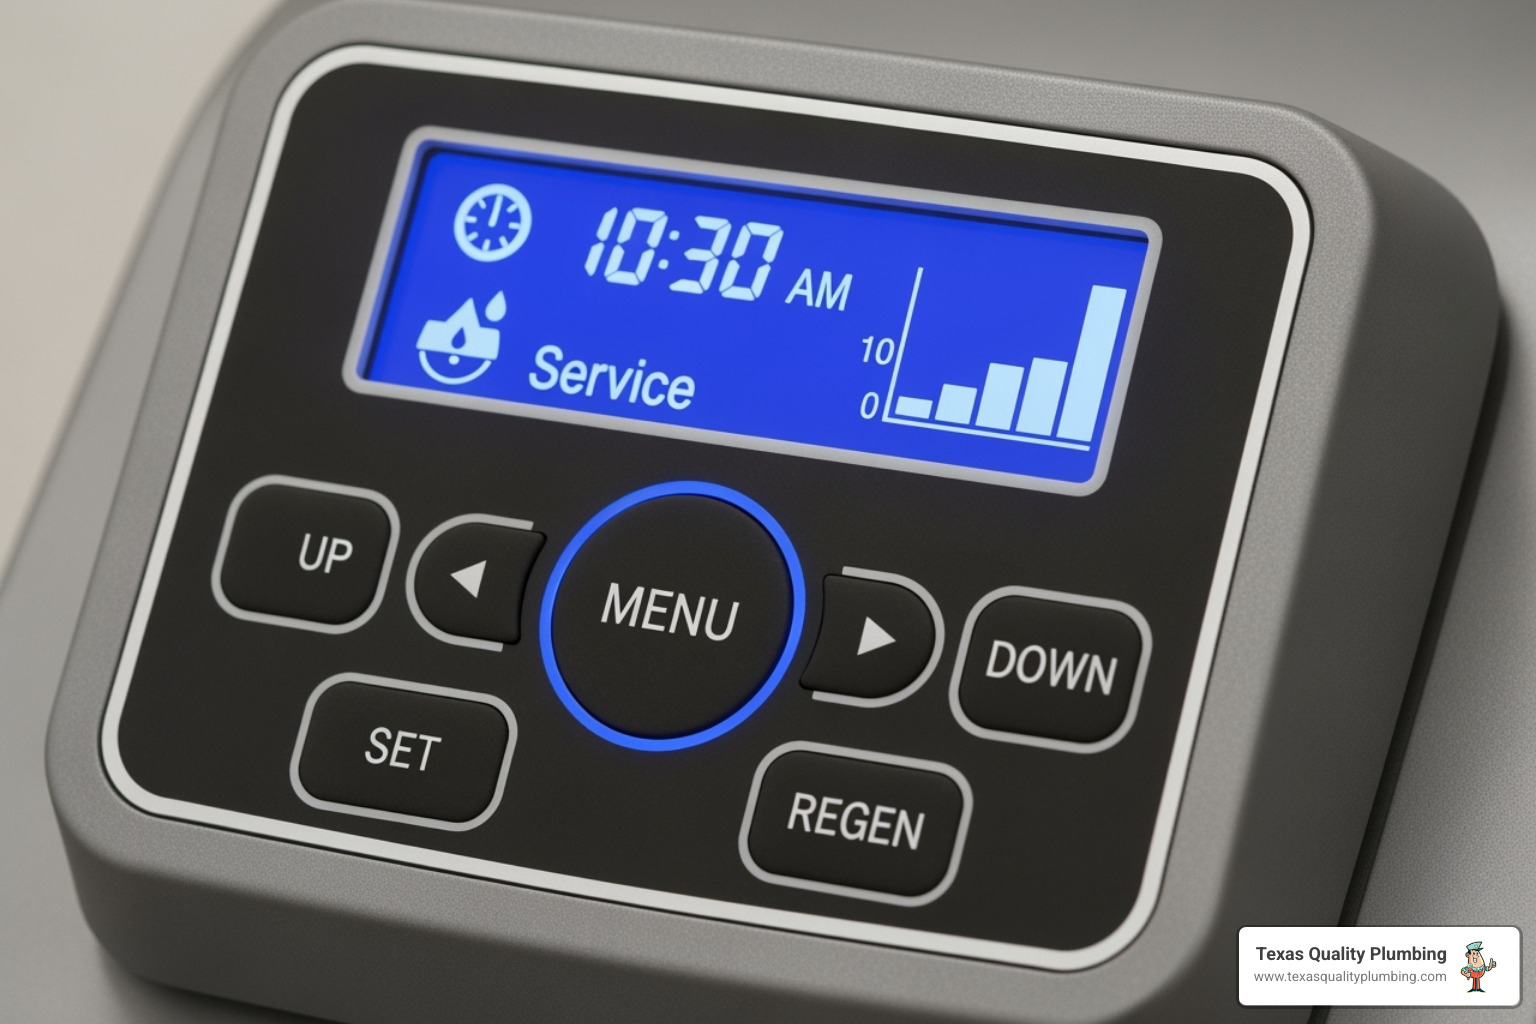
Think of programming your control valve like setting up a smart thermostat – once you get it right, it’ll take care of everything automatically. The digital display might look intimidating at first, but it’s actually pretty straightforward.
Start with the basics: Set the current time and date so your system knows when to run its cleaning cycles. Most softeners are programmed to regenerate in the wee hours (typically around 2 AM) when nobody’s using water. Nobody wants to jump in the shower during a regeneration cycle!
Next, input your water hardness setting. GPG number you figured out earlier? This is where it becomes crucial. If your water tested at 12 GPG, input 12. This tells your softener exactly how hard it needs to work. Get this wrong, and your system might regenerate too often (wasting salt and water) or not enough (leaving you with hard water).
The regeneration cycle schedule is where the magic happens. Most modern units are smart enough to track your water usage and regenerate only when needed. A typical regeneration takes about 80-90 minutes, so timing it for overnight makes perfect sense.
Don’t skip the initial manual regeneration cycle! This gives the resin bed a thorough cleaning and gets everything properly calibrated for your home’s specific needs.
Keeping your system happy is surprisingly simple, but consistency matters. The most important task is checking your salt level regularly. Think of it like keeping gas in your car – no salt means no soft water. Most homes need to add salt every 6 months or so, but your usage might be different.
Watch out for salt bridges – those crusty formations that can block salt from dissolving properly. If your water suddenly feels hard again even with plenty of salt visible, grab a broom handle and gently poke through the salt to break up any bridges.
Resin bed maintenance keeps your system running efficiently for years. Occasionally using a water softener cleanser or following your manufacturer’s sanitization recommendations (often involving a small amount of household bleach) prevents the resin beads from getting fouled up.
By staying on top of these simple tasks, you’ll enjoy all the benefits of soft water without any headaches. Our team has seen how proper maintenance can make these systems last decades! For more insights into optimizing your water quality, check out how Water Softeners Improve Water Quality in homes across Texas.
DIY vs. Professional Installation: Making the Right Choice
When it comes to water softener installation, you’re probably wondering whether to roll up your sleeves or call in the cavalry. It’s one of those decisions that can save you money or save you headaches – and we want to help you figure out which path makes the most sense for your situation.
Let’s be honest: DIY installation can be incredibly rewarding. There’s something satisfying about conquering a home improvement project and knowing exactly how your system works. Plus, you’ll save on labor costs, which can be substantial. However, water softener installation isn’t quite as straightforward as hanging a picture frame or assembling furniture.
| Feature | DIY Installation | Professional Installation |
|---|---|---|
| Cost | Lower upfront (you save on labor). | Higher upfront (includes labor, expertise, and potentially permits). |
| Time | Can take approximately 6 hours of working time, potentially a full day. | Often completed in a few hours for a new install, less than an hour for a replacement. |
| Skill Level | Requires moderate to advanced plumbing skills, comfort with DIY projects. | No skill required from homeowner, handled by licensed professionals. |
| Warranty | DIY mistakes can void manufacturer warranties. | Often includes parts and labor warranty (e.g., standard 1-year). |
| Risk | Potential for leaks, improper function, code violations, water damage. | Minimal risk, professional ensures proper setup and compliance. |
| Peace of Mind | Relies on your own execution and troubleshooting. | Expert guarantees proper function, compliance, and handles any issues. |
The DIY route works best if you’re comfortable with plumbing, have the right tools, and don’t mind spending a weekend on the project. But here’s the thing – mistakes can be costly. We’ve seen well-intentioned homeowners accidentally flood their basements or create electrical issues that end up costing far more than professional installation would have.
Professional installation brings expertise, speed, and peace of mind to the table. When you hire a licensed plumber, you’re not just paying for the installation – you’re investing in their years of experience, proper tools, and knowledge of local codes. Plus, if something goes wrong down the line, you have someone to call who stands behind their work.
When to Call a Professional for Your Water Softener Installation
Sometimes, even the most confident DIYer knows when to wave the white flag. There are definitely situations where calling a professional isn’t just smart – it’s essential for your home’s safety and your sanity.
Complex plumbing configurations top our list. If your home has unusual pipe layouts, multiple water lines, or you need significant modifications to accommodate the softener, a professional plumber can design the right solution without turning your utility room into a plumbing nightmare.
Copper pipes present their own challenges. The brine solution from water softeners can be corrosive to copper over time, which is why we recommend plastic tubing with compression fittings for these connections. If you’re not comfortable working with these materials or ensuring proper electrical grounding with jumper wires, it’s definitely time to call in the experts.
Lack of tools or experience is nothing to be embarrassed about. Pipe cutters, soldering equipment, and specialized fittings aren’t exactly everyday household items. If you find yourself making multiple trips to the hardware store or feeling uncertain about any step, the cost of professional installation quickly starts looking reasonable.
Time constraints matter too. While DIY installation can take a full day (or weekend), experienced plumbers can often complete the job in just a few hours. If you need your water softener up and running quickly, professional installation is the clear winner.
Code compliance is crucial and often overlooked. Local plumbing codes vary, and what’s acceptable in one area might not be in another. Professional plumbers stay current on all regulations, ensuring your installation meets local requirements and passes any necessary inspections.
If you’re unsure about any step, or simply prefer the assurance of expert service, the expert plumbers at Texas Quality Plumbing can ensure a fast, leak-free, and code-compliant installation. We’ve handled countless water softener installations throughout Texas, and we understand the unique challenges that come with our local water conditions and plumbing requirements. Contact Us when you’re ready to enjoy the benefits of soft water without the installation stress.
Frequently Asked Questions about Water Softener Setup
Let’s tackle some of the most common questions we hear about water softener installation. These are the real concerns homeowners have when they’re considering this upgrade, and we want you to feel confident about your decision.
How long does a DIY water softener installation take?
Here’s the honest truth: if you’re tackling DIY water softener installation, plan for about 4-6 hours of solid work time. That said, we’ve seen it stretch into a full weekend project for first-timers, especially when you factor in trips to the hardware store for forgotten fittings or that moment when you realize your pipes aren’t quite where you thought they were.
Replacement installations move much faster than new installs. If you’re simply swapping out an old unit, you might finish in under two hours since the plumbing connections are already in place. But for a brand-new installation where you’re cutting into the main water line and setting up drainage, give yourself plenty of time.
Your skill level makes a huge difference here. If you’re comfortable with plumbing projects and have done similar work before, you’ll likely hit that 4-6 hour range. If this is your first rodeo with pipe cutting and fittings, don’t be surprised if it takes longer – and that’s perfectly okay!
How much does water softener installation cost?
The cost picture for water softener installation has several moving parts, and we want you to understand what goes into the total investment.
System costs vary widely based on capacity and features. A basic unit for a smaller household might start around the lower end, while larger homes or those with very hard water often need more robust systems that cost significantly more.
Installation costs depend on whether you go DIY or professional. DIY installation saves you labor costs – that’s the main financial advantage. You’ll still need to budget for tools and materials if you don’t already have them, plus any unexpected fittings or adapters your specific plumbing requires.
Professional installation includes labor, expertise, and often a warranty that covers both parts and workmanship. While the upfront cost is higher, many homeowners find the peace of mind worth every penny, especially when they consider the potential cost of fixing DIY mistakes.
Is it safe to drink softened water?
This is probably our most frequently asked question, and we completely understand the concern. Yes, softened water is generally safe to drink for most people.
Here’s what actually happens: during the ion exchange process, your water softener swaps out calcium and magnesium (the minerals that make water hard) with sodium ions. The amount of sodium added is typically quite small – we’re talking about the equivalent of what’s naturally found in a slice of bread per glass of water for moderately hard water.
For most healthy individuals, this extra sodium isn’t a health concern at all. However, if you’re on a sodium-restricted diet due to medical reasons, or if your water is exceptionally hard (requiring more sodium exchange), you might want to consider bypassing your kitchen faucet from the softener system.
Many homeowners choose this approach anyway – they enjoy the benefits of soft water for bathing, cleaning, and protecting their appliances, while keeping one tap with unsoftened water for drinking and cooking. It’s a simple modification that gives you the best of both worlds, and it’s something our team can easily set up during installation.
Enjoy the Benefits of Soft Water
You’ve done it! Whether you tackled the water softener installation yourself or called in the professionals, you’re about to experience a change that touches every corner of your home life.
The first thing you’ll notice is how much easier cleaning becomes. Your shower doors will stay clearer longer, and that stubborn soap scum that used to require serious elbow grease? It practically wipes away on its own. Your dishes will come out of the dishwasher sparkling – no more rewashing glasses to get rid of those annoying water spots.
Your skin and hair will thank you too. That dry, tight feeling after a shower becomes a thing of the past. Soft water allows your soaps and shampoos to work the way they’re supposed to, creating rich lathers that rinse away completely. Many of our customers tell us they feel like they’re getting a spa treatment every time they shower!
But the real magic happens behind the scenes with your appliances. Your water heater will run more efficiently without that layer of mineral buildup acting like insulation inside the tank. Your dishwasher and washing machine will hum along happily, free from the scale that used to clog their inner workings. This means lower energy bills and appliances that last years longer than they would with hard water.
Your laundry gets a makeover too. Clothes come out softer and brighter, and you’ll find yourself using less detergent to get the same cleaning power. White shirts stay whiter, and colors stay more vibrant because there’s no mineral residue dulling the fabric.
The long-term value of your investment really shines over time. With proper maintenance, a quality water softener can serve your family faithfully for 10-15 years or more. The money you save on cleaning products, appliance repairs, and energy costs often pays for the system itself.
At Texas Quality Plumbing, we’ve seen how water softener installation can completely change how families feel about their homes. From our Water Filtration Systems to emergency repairs, we’re committed to helping Houston area families enjoy better water quality and peace of mind.
Ready to join the soft water revolution? Schedule your professional plumbing service in Houston today and let us help you transform your home’s water quality!
