Why Water Heater Thermostat Problems Leave You Cold
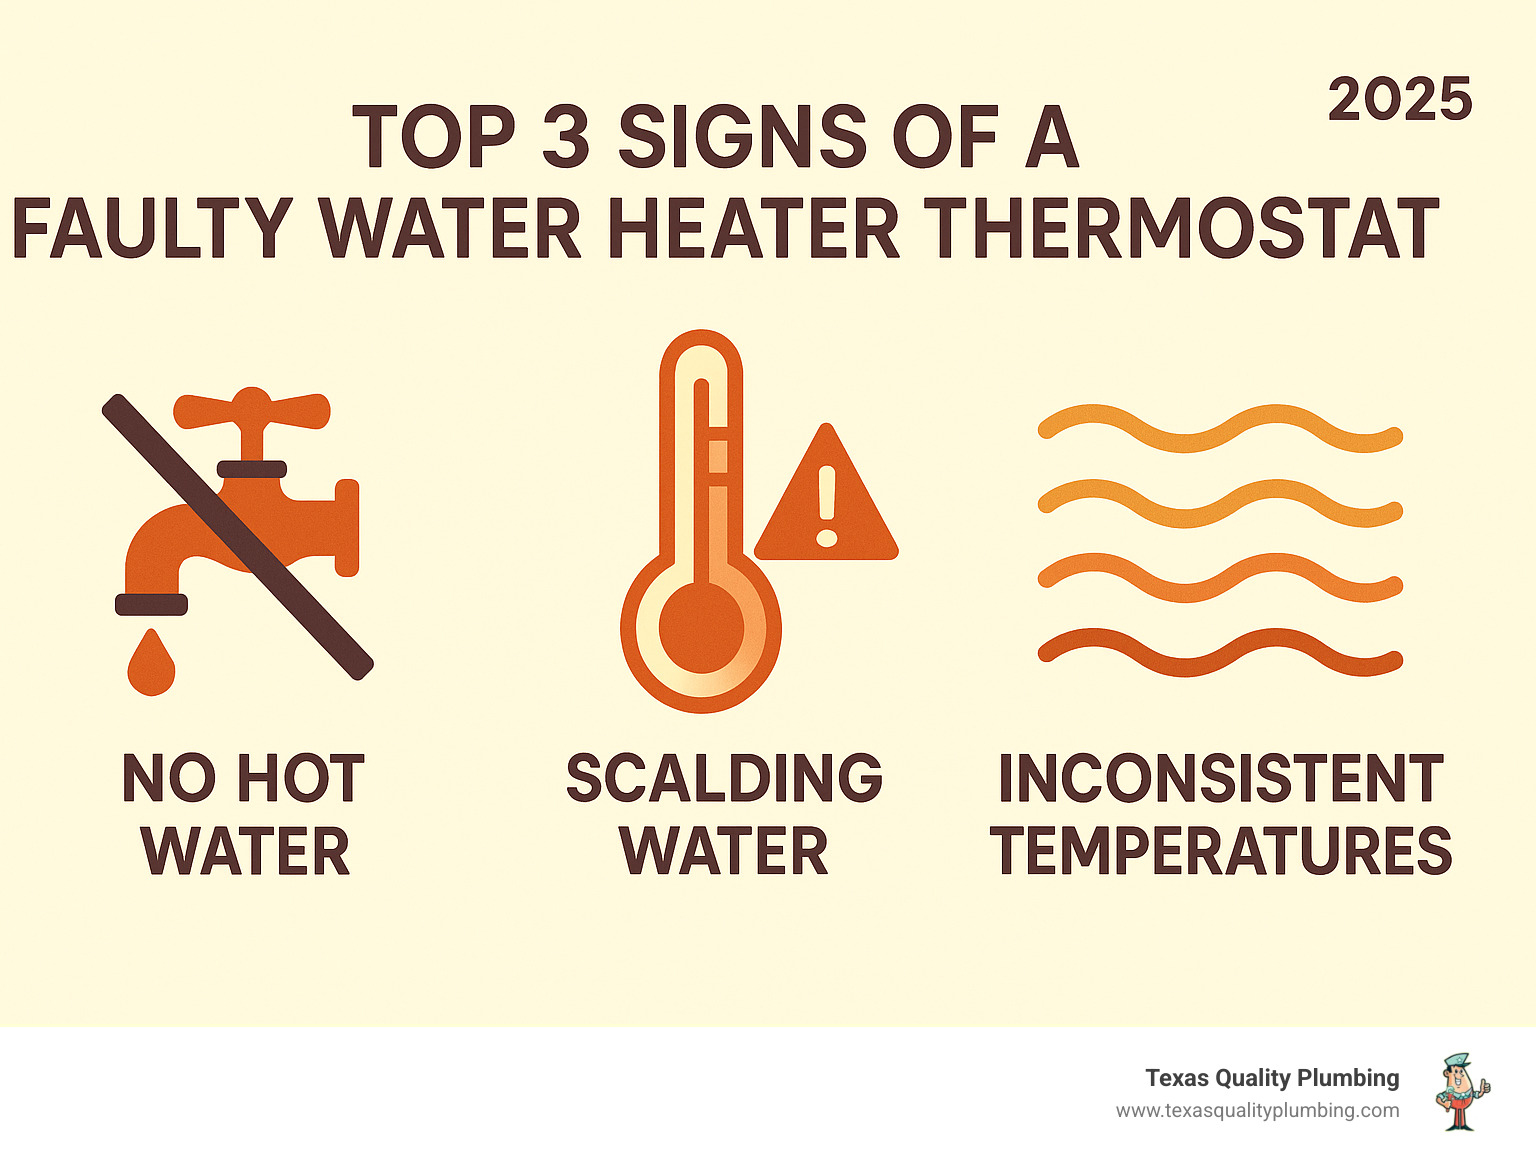
Water heater thermostat repair is a common fix that can restore your hot water and save you from another cold shower. If you have no hot water, scalding temperatures, or inconsistent heating, your thermostat is likely the culprit.
Quick Answer: Signs You Need Thermostat Repair
- No hot water – Upper thermostat or heating element failure
- Scalding water – Thermostat stuck in “on” position
- Lukewarm water only – Upper thermostat needs replacement
- Hot then cold water – Lower thermostat failure
- High energy bills – Faulty thermostat causing continuous heating
You rely on hot water daily for washing, cleaning, and showering. When your water heater’s thermostat fails, it’s like losing the brain that controls your hot water system.
The thermostat’s job is critical: turn the heating elements on when water gets cold and turn them off when it reaches the set temperature. When this control system breaks, you get either no heat or dangerous overheating.
Many homeowners can tackle this repair with basic tools and safety precautions. However, electric water heaters use a dangerous 240-volt current—twice the voltage of standard outlets—so proper safety steps are essential.
This guide walks you through diagnosing thermostat problems, gathering the right tools, and completing the repair safely. You’ll also learn when it’s smarter to call a professional.
Is Your Thermostat the Trouble? Signs, Symptoms, and Diagnosis
Getting blasted with ice-cold water in the shower or finding it dangerously hot are frustrating scenarios that often point to one culprit: a failing thermostat.
Before starting a water heater thermostat repair, you need to confirm the thermostat is the problem. A faulty thermostat disrupts your entire hot water system, creating annoying and sometimes dangerous issues.
No hot water is the most obvious red flag. A failed thermostat can’t tell the heating elements to turn on, leaving you with cold water. This is frustrating if the unit has power but still won’t heat.
Conversely, water that’s dangerously hot means your thermostat is stuck in the “on” position. It has lost its ability to regulate temperature, creating a serious scalding hazard. Water temperatures should not exceed 120°F to avoid putting your family at risk.
Lukewarm water that never gets truly hot suggests a thermostat that’s only partially working. It might be signaling the heating elements, but something is preventing it from reaching the desired temperature.
Inconsistent temperatures, where water goes from hot to cold, indicate a thermostat malfunction. It’s struggling to maintain steady control over the heating system.
Watch your energy bills, too. A faulty thermostat can cause your water heater to work overtime, heating water continuously. You’ll see high energy bills without better hot water performance, essentially wasting money.
Slow reheat times after heavy use can also signal thermostat trouble. If your water heater takes too long to recover after a long shower, the thermostat isn’t managing heating cycles efficiently.
Don’t ignore these warning signs. Thermostat problems can create safety hazards and waste energy. For a complete picture of water heater issues, check out our guide on Signs You Need Water Heater Repair.
Thermostat failure usually stems from normal wear and tear, but electrical issues can accelerate the process. Burnt wires from overheating, loose connections that cause dangerous arcing, or simple component age can all cause a failure. Loose connections are sneaky and can create fire hazards from electrical arcing.
How to Test a Water Heater Thermostat
Once you suspect thermostat trouble, testing confirms your diagnosis before you start any water heater thermostat repair. This process can save you from replacing the wrong part.
Safety comes first. Go to your main electrical panel and flip the water heater’s circuit breaker to “OFF.” For gas units, shut off the gas supply. This is not optional, as water heaters use a dangerous 240-volt current.
Confirm the power is actually off using a non-contact voltage tester. Touch it to the wires leading to your thermostat and heating elements. If it lights up or beeps, power is still flowing—double-check that breaker. The pen-style non-contact tester in this photo is made by Fluke and is perfect for this job.
Remove your water heater’s access panels to reach the thermostat. Electric models typically have two panels—one upper, one lower. Carefully move any insulation aside to get a clear view.
Take a photo before disconnecting any wires from the thermostat terminals. This reference will prevent headaches during reassembly.
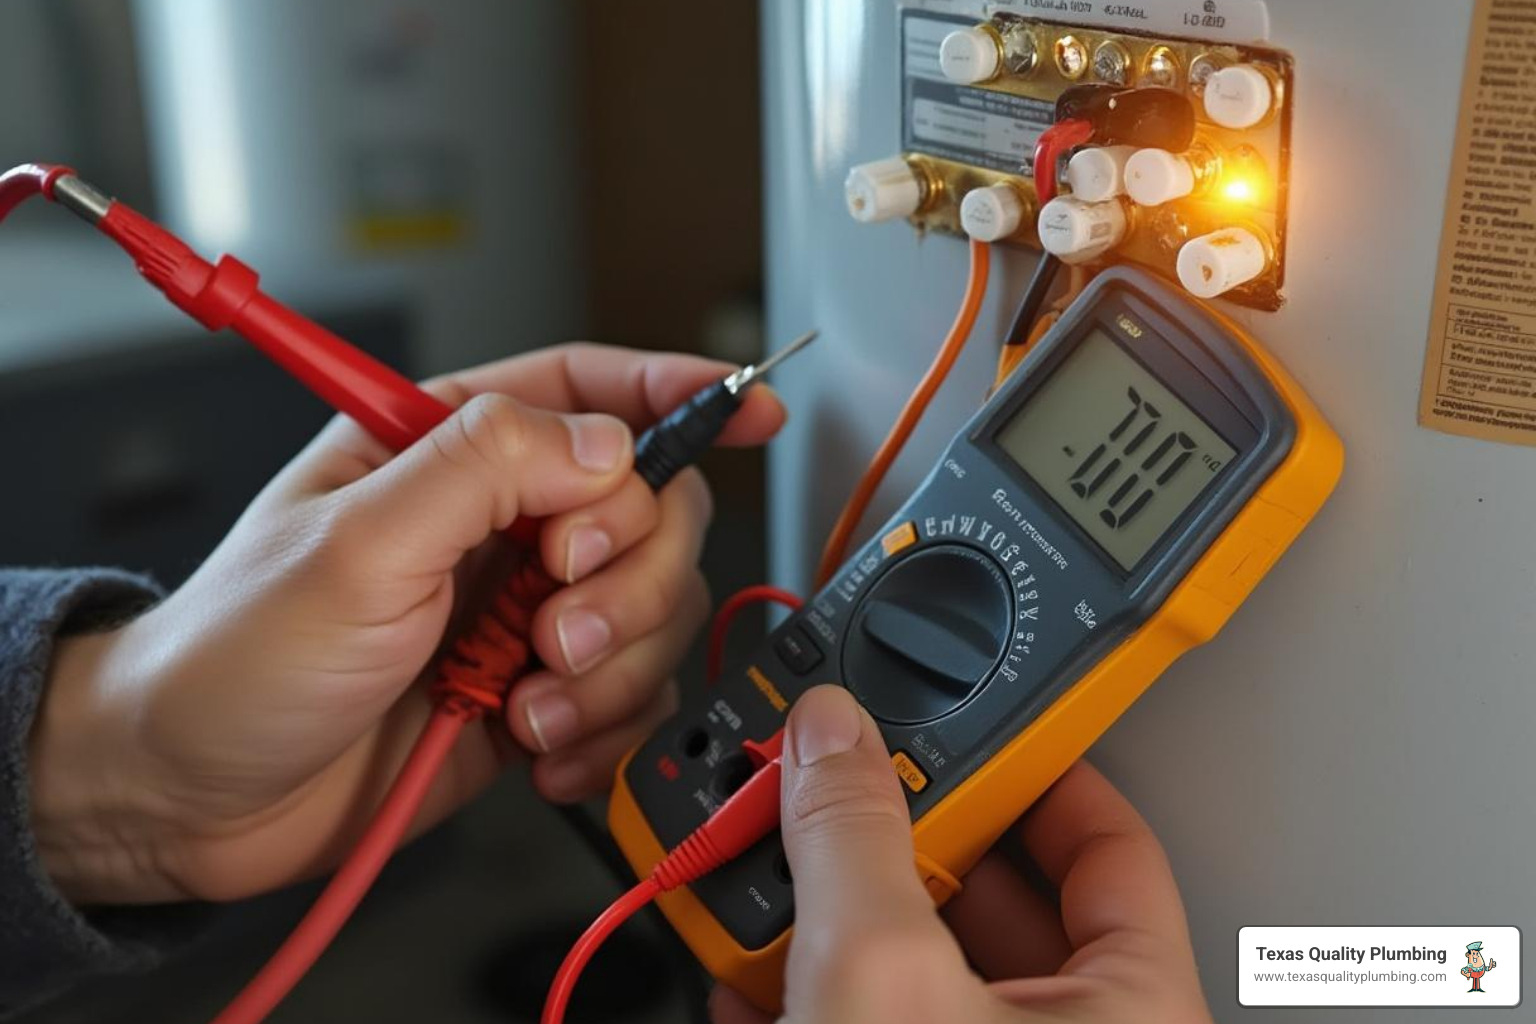
Use your multimeter for a continuity test by setting it to the ohms (Ω) setting. Touch the probes to different terminals on the thermostat. A reading near zero means electricity can flow through (good continuity). No reading or “OL” (open loop) means the thermostat is likely dead.
The reset button is a crucial safety feature. This red button near your upper thermostat (also called a high-limit switch) trips when water temperature hits dangerous levels (150-170°F), cutting power to prevent overheating.
If your water heater suddenly stops working, try pressing this reset button. If it trips again immediately or frequently, you have a deeper problem that needs professional attention.
Upper vs. Lower Thermostats in Electric Heaters
Electric water heaters have dual-element systems—they use two heating elements controlled by two separate thermostats. Understanding how they work together is key to successful troubleshooting.
The upper thermostat is the boss. It receives power from the electrical panel and controls the upper heating element. Its job is to heat the top portion of the tank first for quick access to hot water. It also houses the important reset button.
The lower thermostat handles the bottom heating element. Once the upper tank section is hot, the upper thermostat passes power to the lower thermostat, which then heats the remaining water.
These troubleshooting symptoms can help you pinpoint which thermostat is failing. If you get warm water that never gets truly hot, or you run out of hot water quickly, suspect the upper thermostat or its heating element. The upper system isn’t providing that initial blast of hot water.
When water starts hot but turns cold quickly, you’re likely looking at lower thermostat failure. The upper element heats the first batch of water, but the lower element isn’t taking over to maintain the supply.
For more detailed help, our guide on Troubleshooting Cold Water Issues covers additional scenarios.
Prepping for the Job: Safety, Tools, and Thermostat Types
Before starting a water heater thermostat repair, we must address safety. This job involves serious electrical current and potentially natural gas, both of which demand complete attention. A successful repair means restoring your hot water safely.
Safety First!
Water heater repairs involve genuine dangers. Electric water heaters run on 240-volt current, double what comes from regular wall outlets and enough to cause serious injury. Gas water heaters have their own risks with natural gas lines that can leak and create explosive situations.
For electric units, your first move is to turn off the power at your home’s main electrical panel. Go to the breaker box and flip the water heater’s breaker to “OFF.” Consider taping a note over it to prevent anyone from accidentally turning it back on.
For gas units, shut off the gas supply valve on the line leading to your water heater. Turn it completely to the “OFF” position.
Always use a non-contact voltage tester to double-check that power is off before touching anything. These gadgets are lifesavers. If you smell gas at any point, stop and call a professional immediately.
If you’re uncertain about any safety step, it’s best to call for backup. As we note in our guide about Houston Plumbing Concerns Call Pro, the smartest DIY move is knowing when to call the pros.
Tools and Materials for Thermostat Replacement
Gathering your tools beforehand prevents frustrating interruptions.
Your essential toolkit includes: a screwdriver set (Phillips and flathead), a non-contact voltage tester, a digital multimeter, and needle-nose pliers.
A pro tip: use your camera or phone to take pictures before disconnecting anything. What seems obvious during disassembly can be confusing later.
You’ll also need the replacement thermostat. Not all thermostats are created equal, which can be a snag for DIYers.
For gas valve replacements, add a wire brush, pipe thread sealant (pipe dope or Teflon tape), and a spray bottle with soapy water for leak testing. If you need to drain the tank, have a bucket and hose ready.
Gas vs. Electric Thermostats
Gas and electric thermostats are completely different. Understanding this is crucial for a successful water heater thermostat repair.
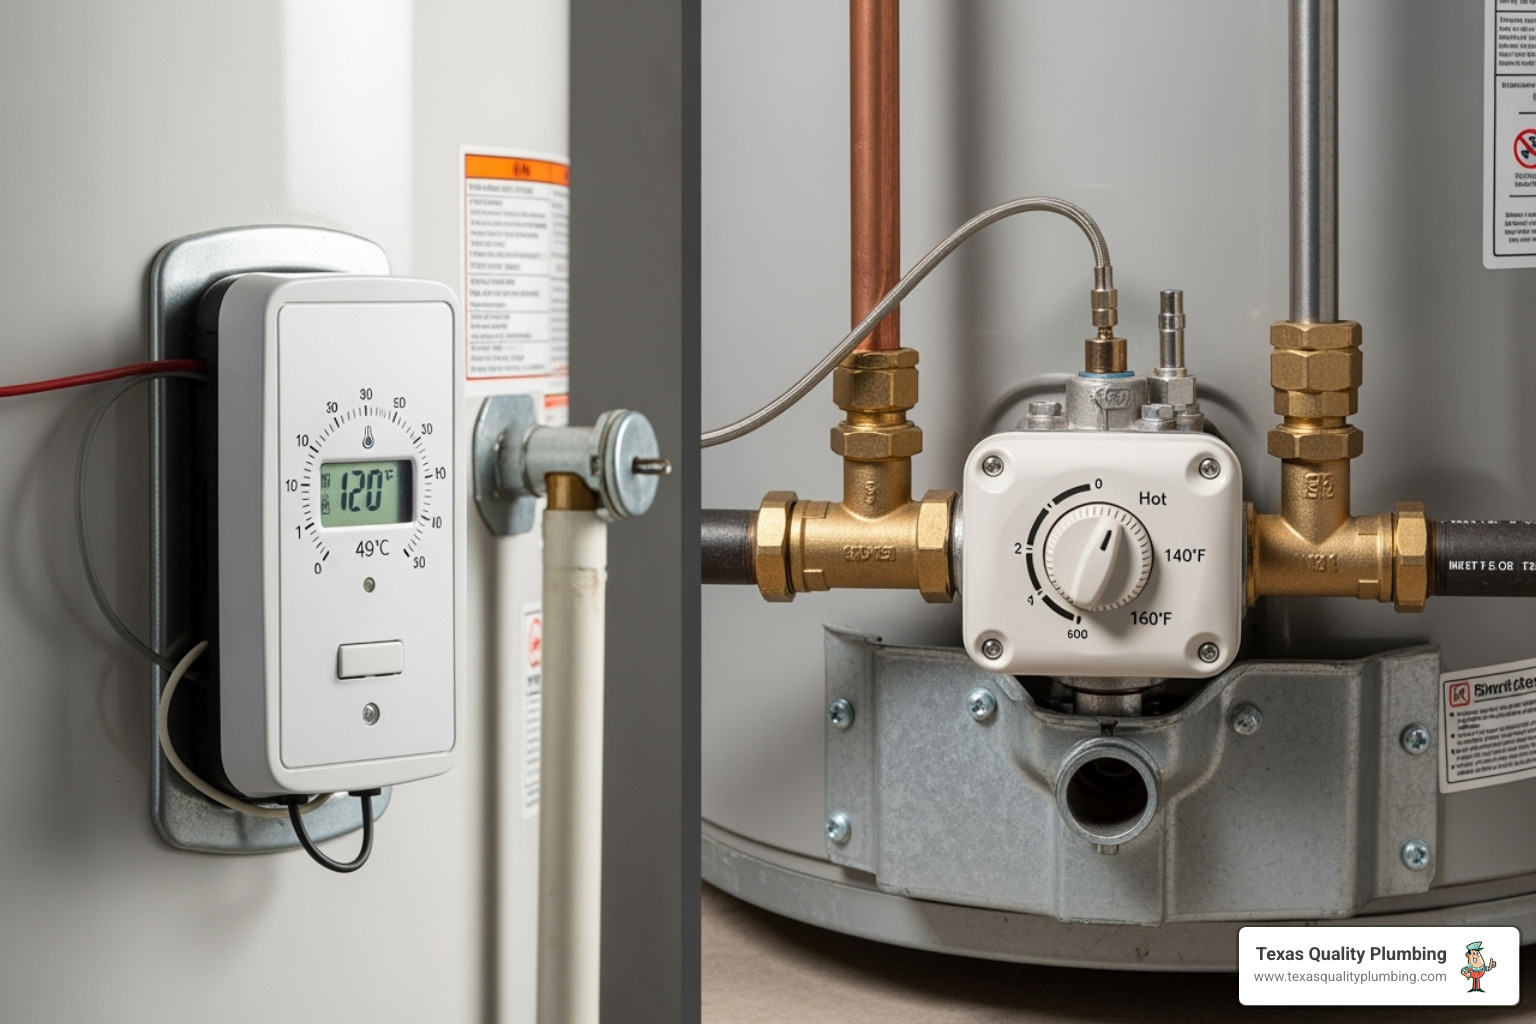
Electric thermostats are relatively simple. Most electric water heaters have an upper and a lower one. These small, rectangular components sit against the tank, sensing temperature and controlling electricity flow to the heating elements. They are accessible once you remove the panels and insulation.
Gas thermostats are part of the gas control valve assembly—a larger, more complex component at the bottom of the heater. This assembly senses temperature and controls gas flow to the pilot light and main burner. When a gas thermostat fails, you typically replace the entire gas control valve assembly.
The compatibility issue is significant. Water heater thermostats are not universal. Each must match your specific water heater’s model, type, and voltage.
Bring the old thermostat with you to the store for an exact match. The wrong one might fit but won’t work properly and could damage your system. Getting the right part the first time saves trips to the hardware store and ensures the repair works.
Your Step-by-Step Guide to Water Heater Thermostat Repair
With safety precautions covered, tools gathered, and thermostat types understood, it’s time for the water heater thermostat repair. The process is less intimidating once you know the steps.
A golden rule to prevent confusion later: take photos of everything. Before disconnecting any wires, take pictures of the existing setup. These photos are invaluable during reassembly.
We also recommend labeling wires before disconnecting them. A piece of masking tape with “upper element” or “power in” can make a big difference. Ensuring a secure fit for all components and wires is critical for safe operation.
How to Replace an Electric Water Heater Thermostat
Electric water heater thermostat repair is a job most homeowners with basic DIY skills can handle in about an hour.
Turn off the power at your home’s main electrical panel. Flip the double-pole, 30-amp circuit breaker for the water heater to OFF. Do not rely on any switch on the unit itself.
Confirm the power is off with a non-contact voltage tester. Touch it to the wires inside the access panels; if it beeps or lights up, power is still on, and you must find the correct breaker.
Remove the access panels on the side of your water heater, which are typically upper and lower. Unscrew them and set them aside. Gently move the fiberglass insulation to expose the thermostat and heating element.
Now, use your photos for reference. Disconnect the wires from the old thermostat with needle-nose pliers, handling them by their insulation. Each wire must return to the correct spot.
Remove the old thermostat by prying out the metal clips or bracket holding it against the tank. It should slide out easily.
Install your new thermostat by sliding it into the holding bracket until it clicks securely and sits flush against the tank. Any gap can cause inaccurate temperature readings.
Reconnect the wires using your photos and labels as a guide. Ensure every connection is tight and secure to prevent arcing and fires. Gently tug each wire to confirm it’s seated.
Press the reset button firmly if your new thermostat has one. This safety feature must be engaged for the system to work.
Restore the insulation and panels, ensuring the insulation completely covers the thermostat and wiring. Screw the access panels back on.
Restore power by flipping the circuit breaker to “ON.” Allow at least an hour for the water to heat, then test a faucet. Running hot water helps the new thermostat calibrate.
How to Replace a Gas Water Heater Thermostat (Gas Control Valve)
Replacing a gas control valve is more complex and carries significant risks due to working with natural gas. If you are not completely comfortable with this task, please call a professional. A small mistake can lead to dangerous gas leaks, fires, or explosions.
If you are confident and experienced, here is the approach:
Turn off the gas supply at the shut-off valve on the gas line to your water heater.
Turn off the water supply using the cold water valve at the top of the heater. Drain the tank slightly by connecting a hose to the drain valve and opening a hot water faucet to break the vacuum. A few gallons is enough.
Disconnect the thermocouple and pilot tube. These small copper lines are crucial for safe operation.
Disconnect the main gas line using two wrenches—one to hold the valve steady and one to turn the connection.
Unscrew the old gas control valve from the tank with a large pipe wrench, turning counter-clockwise. A small amount of water may escape.
Install the new valve with pipe thread compound (pipe dope) or Teflon tape on the threads to create a gas-tight seal. Thread it into the tank and tighten securely without over-tightening.
Reconnect all the lines: main gas line, pilot tube, and thermocouple. Ensure every connection is snug.
Check for leaks with soapy water. Turn the gas supply back on and spray the mixture on every connection. Bubbles indicate a leak. Turn off the gas, tighten the connection, and retest.
Relight the pilot following your water heater’s instructions.
Restore the water supply and test the system. The main burner should eventually fire up.
DIY vs. Pro: Costs and When to Call for Help
Fixing your own water heater can be satisfying and save money, but water heater thermostat repair isn’t always a simple DIY job. The part itself typically costs between $20 to $50, making it a budget-friendly repair.
However, when you call a professional, you’re investing in expertise, proper tools, and peace of mind. Professional installation costs vary based on location and the complexity of the job, such as replacing a simple electric thermostat versus a full gas control valve assembly.
When to Call for Professional Help
While DIY is empowering, some situations require professional intervention for your safety.
Call a professional immediately for burnt wires or melting plastic around the thermostat. This indicates a serious electrical problem that needs expert evaluation and could cause a fire.
A leaking tank is another clear sign to call the pros. Water seeping from the tank itself means the unit likely needs a complete replacement, which a thermostat repair won’t fix.
For gas water heaters, hissing sounds or the smell of natural gas require immediate action. Turn off the gas supply, leave your home, and call your gas company and a professional plumber. Gas leaks can lead to explosions or carbon monoxide poisoning.
If you feel uncomfortable or uncertain at any point, trust your instincts and call for help. There’s no shame in recognizing your limits, especially with 240-volt electricity or gas lines.
Persistent issues after a DIY attempt also warrant a professional call. If temperature problems continue after replacing the thermostat, there could be deeper issues like failing heating elements, sediment buildup, or other electrical faults.
Finally, consider your water heater’s age. If your unit is over 8-12 years old and has multiple problems, replacing the entire system might be more cost-effective than repeated repairs.
For more guidance, check our comprehensive guide on When to Call for Water Heater Repair.
We’re always here to help when DIY reaches its limits. Sometimes the smartest move is knowing when to call in the experts.
Wrap-Up: Key Takeaways and Safety Tips for Thermostat Repair
You now have the knowledge to diagnose and fix common issues related to water heater thermostat repair, from icy showers to scalding water.
Your thermostat is the brain of your water heating system. When it’s working properly, you get consistent hot water. When it fails, you can face cold showers or high energy bills from a heater that runs constantly.
Safety always comes first. The 240-volt current in electric heaters and the natural gas in gas models demand respect. Always turn off the power, double-check with a voltage tester, and take photos before disconnecting wires.
A successful water heater thermostat repair restores your hot water, boosts system efficiency, lowers energy bills, and can extend your water heater’s lifespan.
That said, not everyone is comfortable with electrical work or gas line repairs. Some jobs are too complex or dangerous for a DIY approach. If you see burnt wires, smell gas, notice tank leaks, or just don’t feel confident, there’s no shame in calling the professionals.
At Texas Quality Plumbing, we’ve seen it all, from simple thermostat swaps to complex system overhauls. We respect your time by showing up when we say we will and getting the job done right the first time. Our team understands that hot water isn’t a luxury; it’s essential.
Whether you’ve successfully completed your DIY repair or need professional assistance, don’t let thermostat troubles disrupt your life. Book your Houston water heater repair service today! We’re here to serve Houston TX, Cypress TX, Spring TX, Katy TX, Sugar Land TX, Richmond TX, Pasadena TX, Humble TX, Tomball TX, Friendswood TX, Jersey Village TX, and Bellaire TX with the reliable service you deserve.


