Why Installing an Electric Water Heater Yourself Can Save You Money
An electric water heater install is a project many handy homeowners can tackle with the right preparation. While professional installation ensures code compliance and warranty protection, understanding the process helps you make informed decisions about your home’s hot water system.
Quick Electric Water Heater Installation Overview:
- Turn off power and water – Safety first at the breaker box
- Drain the old unit – Connect a garden hose to the drain valve
- Disconnect electrical and plumbing – Carefully remove old connections
- Position new heater – Level and secure with proper clearance
- Connect plumbing – Install T&P valve and water lines
- Fill tank completely – Purge air before connecting power
- Connect electrical – Match wires and restore power
- Test and adjust – Set thermostat to a maximum of 120°F
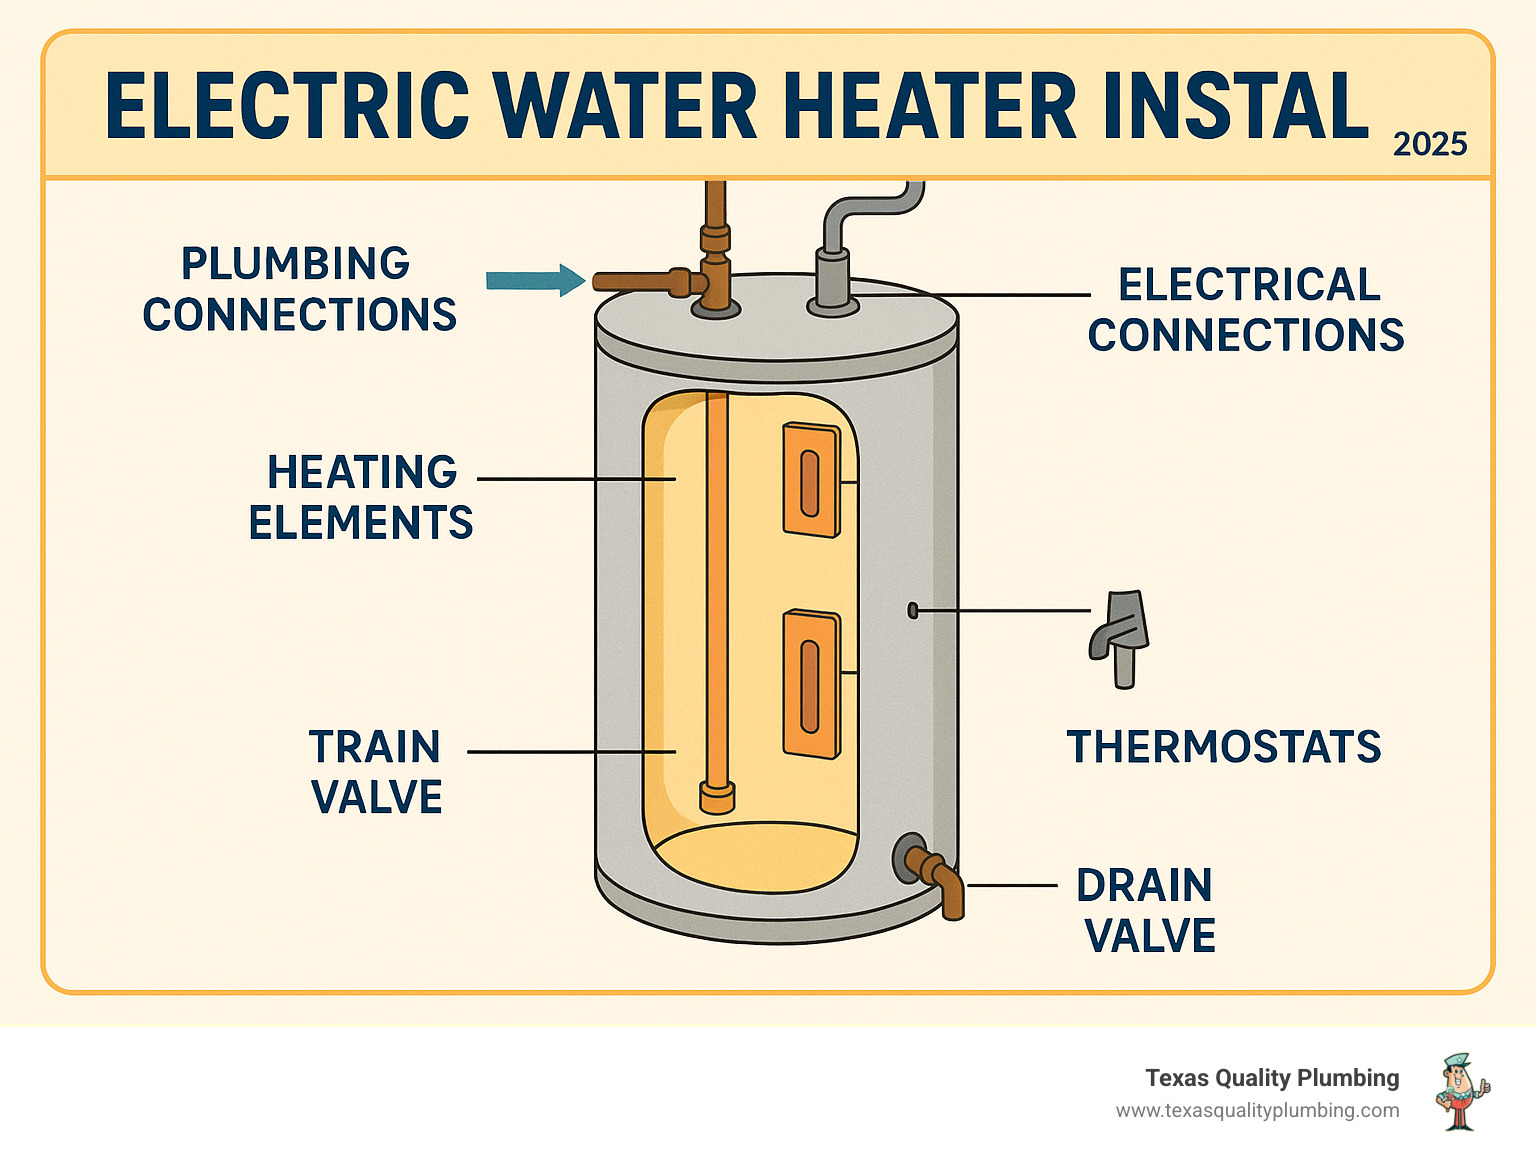
Safety is critical – electric water heaters use 240-volt circuits that can cause serious injury or death. Always verify power is off with a non-contact voltage tester before starting work.
Modern electric water heaters (post-2015) are larger and more efficient than older models, so measure your space carefully. Most installations take a full day with basic plumbing and electrical skills. The primary benefit is energy savings, as new units are more efficient and proper installation prevents costly leaks.
Before You Begin: Prep and Planning
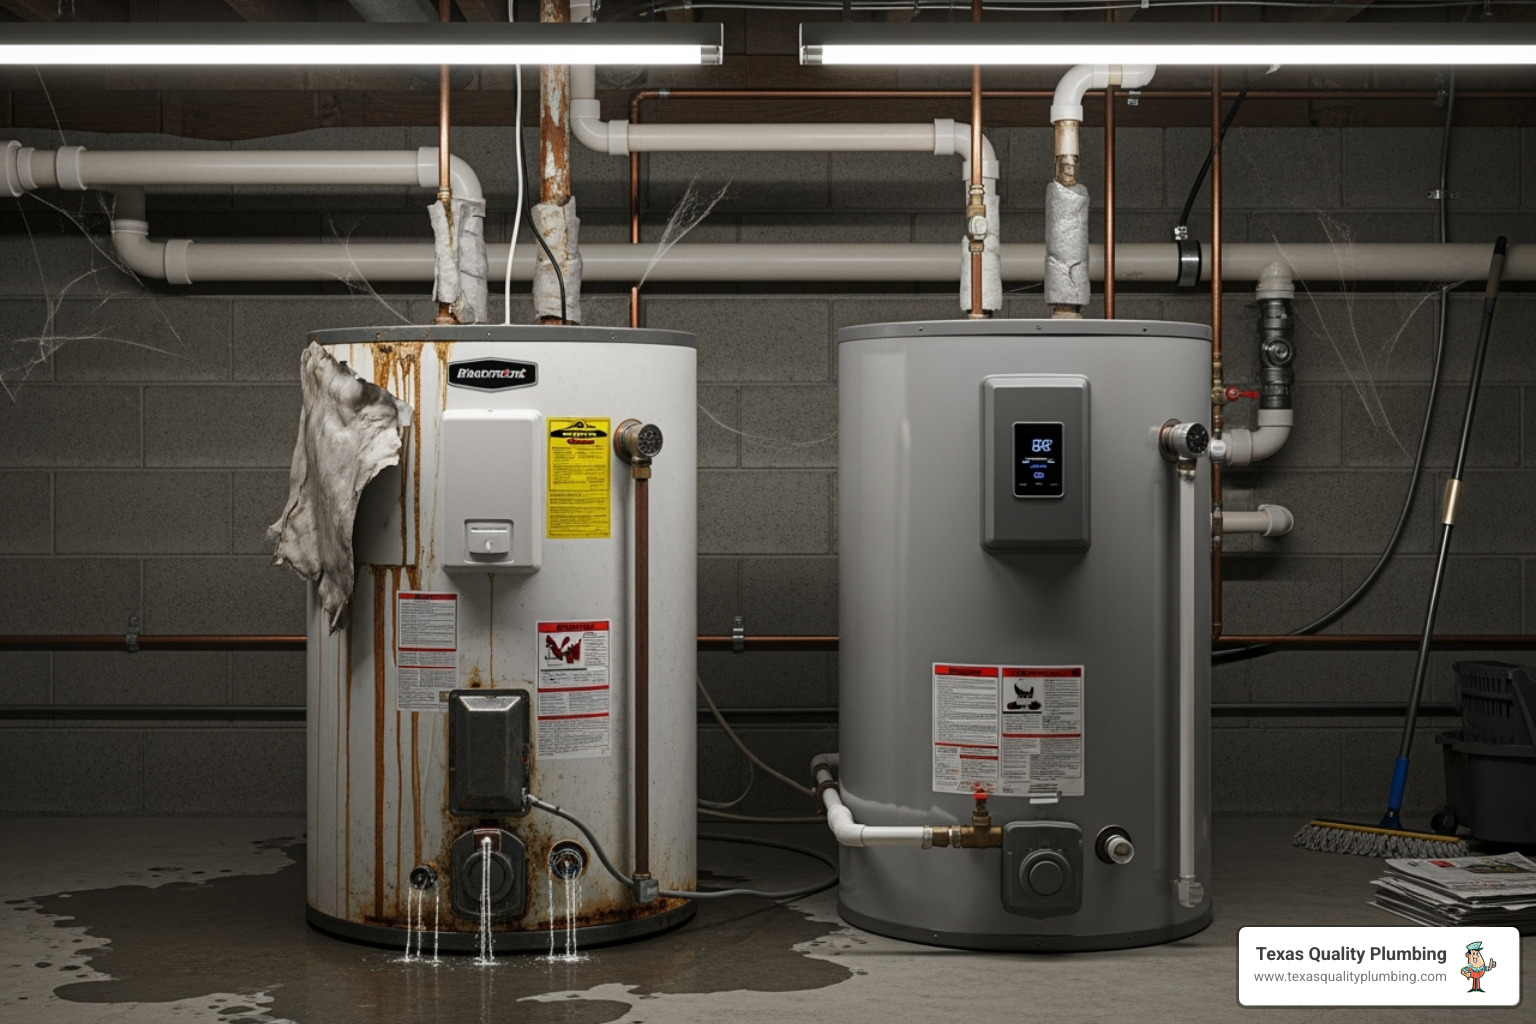
Proper planning is essential for a smooth electric water heater install and will save you multiple trips to the hardware store. First, determine if your water heater truly needs replacing. A lack of hot water might just be a faulty heating element or thermostat, which are simple repairs.
However, clear signs for replacement include water pooling around the unit (from the tank itself, not a fitting), rusty water from hot taps, or if the unit is over 10 years old. For more detail on these warning signs, see our guide on When to Replace Your Water Heater.
Once you’ve decided to replace it, choosing the right size is crucial. Check your current unit’s data plate for its specifications. That newer water heaters are physically larger than older models of the same capacity due to increased insulation requirements since 2015. Measure your space carefully to ensure the new unit will fit.
This is also a good time to consider a tankless water heater. They heat water on demand, making them up to 30% more efficient, and they last longer (15-20 years). However, they often require electrical upgrades, which can complicate a DIY project. Learn more in our article on Tankless Water Heater Basics Houston Homeowners Should Know.
Essential Tools and Materials
Gathering your tools and materials beforehand will make the job flow smoothly. You will need:
- Two pipe wrenches
- Tubing cutter (for copper pipes)
- Adjustable and tongue-and-groove pliers
- Phillips and flathead screwdrivers
- Non-contact voltage tester: This is a critical safety tool to verify power is off. We recommend a reliable model like this non-contact voltage test pen.
- Teflon tape
- Flexible water lines
- Drain pan and garden hose
- Bucket
- Appliance dolly
- Carpenter’s level and shims
- New T&P (temperature and pressure relief) valve and discharge pipe
- Wire nuts, electrical tape, safety glasses, and gloves
Critical Safety and Code Compliance
Safety is paramount when performing an electric water heater install. You are working with a 240-volt circuit and pressurized hot water.
- Always turn off the power at the main electrical panel. Use your non-contact voltage tester to confirm the power is off before touching any wires.
- Shut off the water supply to the water heater or the main supply to the house.
- Wear personal protective equipment (PPE), including safety glasses and gloves.
Building codes and permits are also crucial. Many cities require a permit for water heater installation to ensure the work is inspected and meets local safety standards. Before starting, check with your local building department in Houston, Cypress, Spring, Katy, Sugar Land, Richmond, Pasadena, Humble, Tomball, Friendswood, Jersey Village, or Bellaire. Skipping permits can lead to fines and insurance issues. While the International Residential Code offers guidelines at Reviewing Water Heater Installation Codes, local codes always take precedence.
The Step-by-Step Electric Water Heater Install Process
Now for the actual electric water heater install. Following these steps in order is crucial for safety and efficiency. While this is a comprehensive guide, don’t hesitate to call a professional for unexpected issues like outdated wiring or complex plumbing. Our team at Texas Quality Plumbing is ready to ensure the job is done right. Learn more about why it’s wise to Trust Professionals for Water Heater Installation.
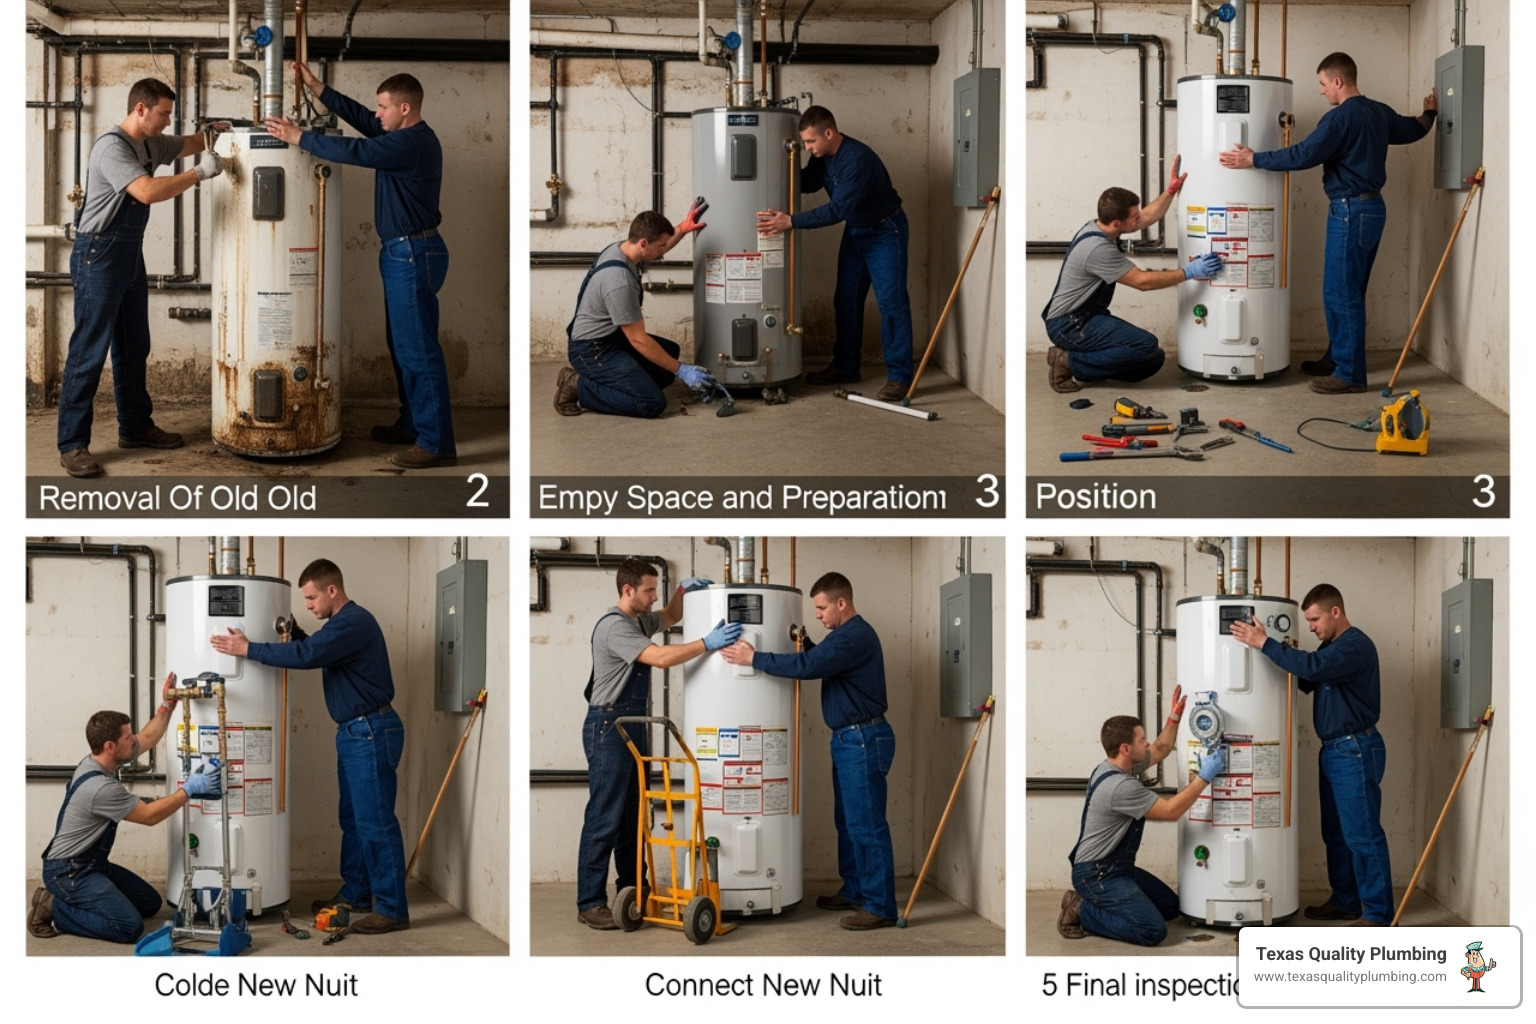
Step 1: Draining and Disconnecting the Old Unit
- Turn off Power: Flip the water heater’s circuit breaker (usually a double-pole 240V breaker) to “OFF.” Use a non-contact voltage tester to confirm there is no power to the unit’s wires.
- Turn off Water: Turn the shut-off valve on the cold water inlet pipe. If there isn’t one, shut off your home’s main water supply.
- Connect Garden Hose: Attach a garden hose to the drain valve at the bottom of the tank. Run the other end to a floor drain or outside, away from areas that could be damaged by hot water.
- Drain Tank: Open the drain valve. Open a hot water faucet on the highest floor of your house to let air in and speed up draining, which can take 30-60 minutes.
- Disconnect Electrical: Once the tank is mostly empty, remove the electrical access panel. Double-check for power with your voltage tester, then disconnect the wires.
- Disconnect Water Lines: Disconnect the hot and cold water lines. Use a tubing cutter for soldered copper pipes. Have a bucket ready for residual water.
- Remove Old Unit: With a helper, use an appliance dolly to move the heavy old unit. Dispose of it according to local recycling guidelines.
Step 2: Positioning and Leveling the New Heater
- Prep Area: Clean the space where the old heater stood, removing any debris or moisture.
- Place Drain Pan: Position a new drain pan (at least 2 inches wider than the heater) in the designated spot. This is a critical safeguard against leaks. Consider a water heater stand to lift the unit.
- Position New Heater: Carefully move the new heater into the drain pan, ensuring access panels are reachable. Allow at least 6 inches of clearance on all sides for ventilation and service.
- Level the Unit: Use a carpenter’s level and shims to ensure the heater is perfectly level. This improves efficiency and reduces stress on plumbing connections.
Step 3: Connecting the Plumbing
- Install New T&P Valve:Never reuse the old one. Wrap the new T&P valve’s threads with Teflon tape and install it in the designated opening, with the discharge port pointing down.
- Connect T&P Discharge Pipe: Attach a discharge pipe (copper or CPVC) to the T&P valve. It must run continuously downhill and terminate 6-12 inches above a floor drain or the drain pan.
- Install Heat Trap Fittings: Wrap the threads of the heat trap fittings with Teflon tape. Attach the blue-coded fitting to the cold-water inlet and the red-coded fitting to the hot water outlet, ensuring arrows point in the correct direction of flow.
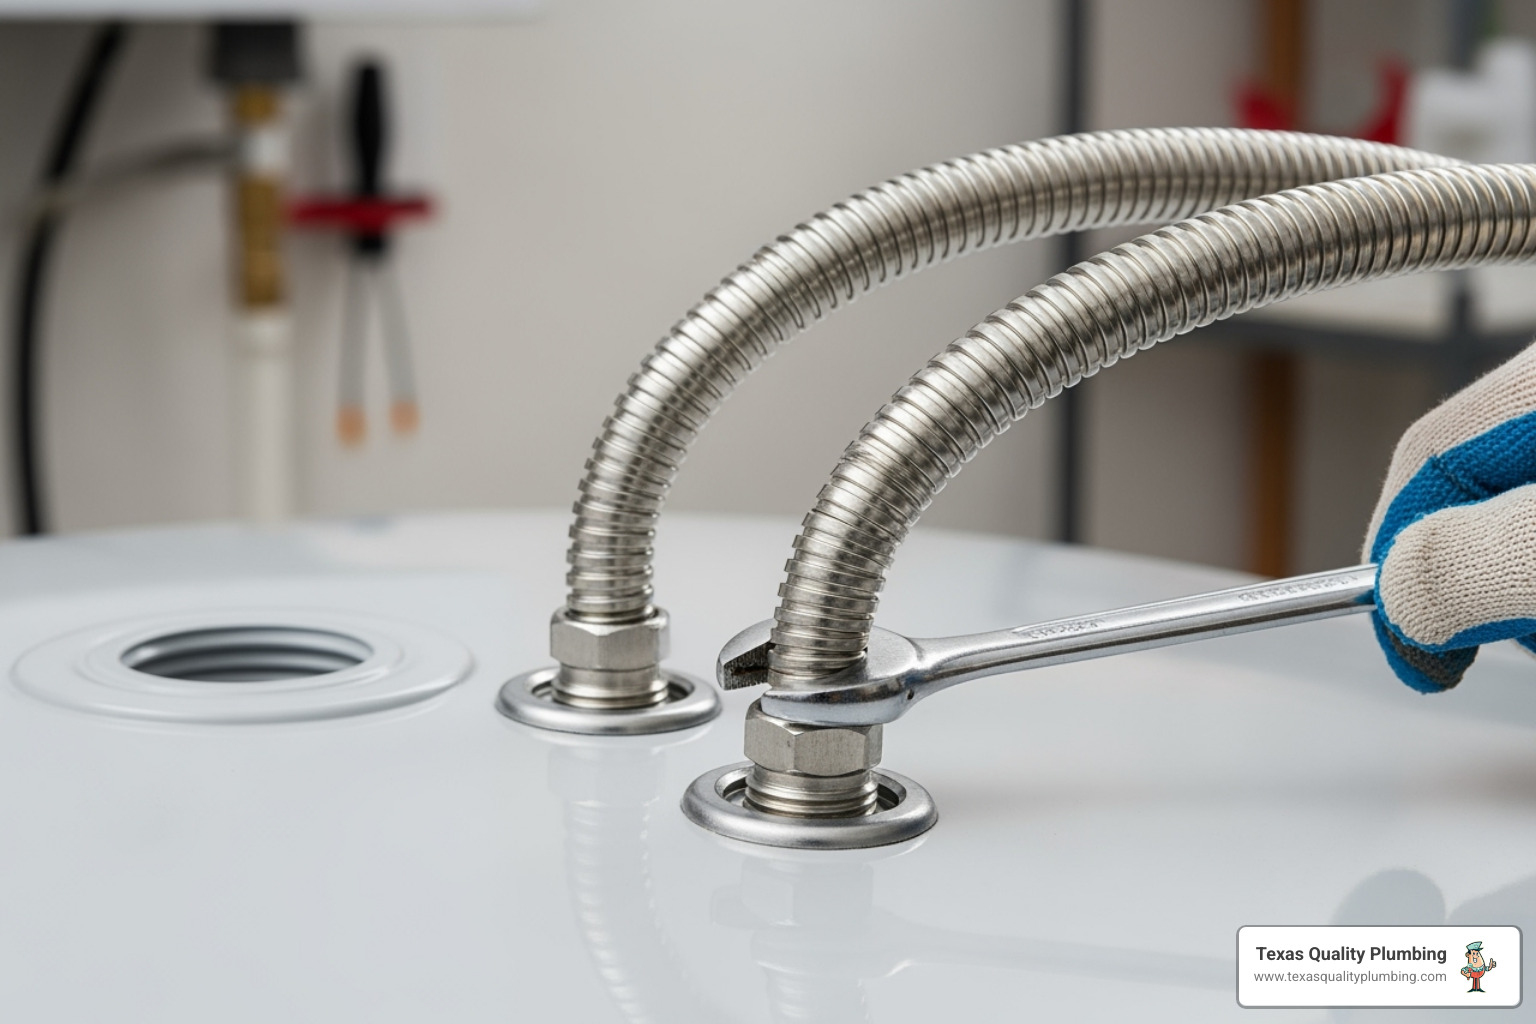
- Connect Water Supply Lines: Flexible water lines are easiest for DIY projects. Connect them from the heat trap fittings to your existing hot and cold water pipes. Tighten connections snugly but do not overtighten.
Step 4: Filling the Tank and Checking for Leaks
- Close Drain Valve: Make sure the drain valve at the bottom of the tank is fully closed.
- Open Cold Water Supply: Slowly open the cold water supply valve to begin filling the tank.
- Purge Air: Open all hot water faucets in your home, starting with the highest one. Let them run until water flows steadily without sputtering, which indicates the tank is full and air has been purged.
- Close Faucets and Check for Leaks: Close the faucets. Carefully inspect all new plumbing connections for any drips. If you find a leak, shut off the water, relieve pressure by draining a little water, and gently tighten the connection. Ensure all connections are dry before proceeding.
Powering Up and Post-Installation Care
This final phase involves safely energizing your new appliance and setting it up for a long life. Before you begin, do one last check of all plumbing connections to ensure they are secure and dry.
For safety and efficiency, set the thermostat to 120°F. This temperature is hot enough for household needs while reducing the risk of scalding. For long-term care, plan on inspecting the anode rod every 2-3 years and replacing it if necessary to prevent tank corrosion. Flushing the tank annually will remove sediment buildup, improving efficiency and preventing noise. If problems arise, knowing When to Call for Water Heater Repair can save you time and money.
Safely Connecting the Electrical Supply for your electric water heater install
CRITICAL: Do NOT restore power until the tank is completely full of water. Energizing an empty tank will instantly burn out the heating elements.
- Confirm Tank is Full: A steady, sputter-free stream of water from your hot faucets confirms the tank is full.
- Connect Ground Wire: Inside the unit’s electrical access panel, connect the bare copper or green wire from your supply cable to the green grounding screw.
- Connect Hot Wires: An electric water heater requires a 240-volt, 30-amp circuit (10/2 cable). Connect the black supply wire to one hot terminal and the white supply wire to the other. Secure connections with wire nuts.
- Replace Access Panel: Securely replace the electrical access panel, ensuring no wires are pinched.
- Restore Power: Go to your electrical panel and flip the circuit breaker to “ON.” It will take about an hour for the water to reach the set temperature.
Troubleshooting Common Issues
If you encounter problems after your electric water heater install, here are some quick solutions:
- No Hot Water: Check if the circuit breaker has tripped. If it has, reset it. If power is reaching the unit but it’s not heating, you may have a faulty thermostat or heating element that requires a professional.
- Lukewarm Water: The thermostat may be set too low, or the upper heating element may have failed. Also, ensure your tank size is adequate for your household’s demand.
- Leaks After Installation: Immediately turn off the power and water. Gently tighten the leaking plumbing connection. If the T&P valve is dripping, it could indicate excessive pressure or a faulty valve, which requires professional attention.
- Popping or Rumbling Noises: This is usually caused by sediment buildup at the bottom of the tank. Annual flushing can prevent this.
- Breaker Trips Repeatedly: This indicates a serious electrical problem like a short circuit. Call a professional immediately.
Frequently Asked Questions about Electric Water Heaters
Here are answers to the most common questions we receive about an electric water heater install.
How much does it cost to install an electric water heater?
The total cost depends on several factors. A DIY installation saves on labor, but you must still budget for the unit, materials (supply lines, T&P valve, drain pan), and proper disposal of the old heater. DIY requires comfort with 240-volt electrical work and knowledge of local codes.
Professional installation has a higher upfront cost but provides peace of mind, expertise in handling unexpected issues, proper permitting, and a warranty on the work. The final price varies based on the unit chosen, whether electrical upgrades are needed, and local permit fees.
What’s the difference between tank and tankless electric water heaters?
This choice affects both your daily comfort and long-term costs. Tank heaters are the traditional standard, while tankless models heat water on demand.
Tank heaters store and constantly heat 40-80 gallons of water. They have a lower upfront cost and simpler installation but use more energy and can run out of hot water.
Tankless heaters provide an endless supply of hot water by heating it instantly as it flows. They are up to 30% more energy-efficient and last longer, but have a higher initial cost and may require electrical system upgrades.
| Feature | Tank Electric Water Heater | Tankless Electric Water Heater |
|---|---|---|
| Upfront Cost | More budget-friendly | Higher initial investment |
| Operating Cost | Higher energy usage from constant heating | Up to 30% more efficient, heats on demand |
| Lifespan | Typically 10-12 years | Often 15-20 years or more |
| Hot Water Supply | Limited by tank size, can run out | Endless hot water supply |
| Space Requirements | Takes up significant floor space | Compact, wall-mounted design |
To explore all your options, check out our guide to Learn about the different Types of Water Heaters.
Are there energy rebates for installing a new water heater?
Yes, rebates and incentives can often help offset the cost of a new electric water heater install. These opportunities are available from several sources:
- Federal Tax Credits: Check for current federal energy programs for home improvements.
- State Programs: Your state may offer its own rebates for energy-efficient appliances.
- Local Utility Rebates: In the Houston area, companies like CenterPoint Energy often provide cash rebates for installing efficient models.
The key to qualifying for most programs is choosing an ENERGY STAR certified water heater. Always look for this label when shopping. Check the websites for the federal energy department, your state energy office, and your local utility provider for the latest incentives.
Conclusion
Completing an electric water heater install is a rewarding project that provides genuine cost savings and the long-term efficiency of a modern unit. By following this guide, you’ve learned how to plan, prepare, and execute the installation safely.
Throughout this process, we’ve emphasized that safety always comes first. Working with 240-volt electricity and pressurized water requires caution. Always verify the power is off, ensure the tank is full before energizing it, and carefully check every connection for leaks.
However, being a capable DIYer also means knowing when to call for help. If you encounter complex plumbing, find your electrical system needs an upgrade, or feel uncertain about any step, it’s wise to contact a professional.
At Texas Quality Plumbing, we respect the DIY spirit but are here when you need us. Our team understands the unique plumbing challenges in homes throughout Houston, Cypress, Spring, Katy, Sugar Land, Richmond, Pasadena, Humble, Tomball, Friendswood, Jersey Village, and Bellaire.
Whether you’ve finished your electric water heater install and want a professional inspection or have decided professional installation is the right choice from the start, we’re ready to help. Contact us for professional water heater services in Houston – because everyone deserves reliable hot water, installed safely and built to last.
